Today, fresh tomatoes are sold in stores all year round. However, any housewife knows that in winter such a product, at a rather high price, cannot be compared with seasonal vegetables either in aroma or in taste. That is why many are wondering whether it is possible to grow tomatoes right in the apartment, on the windowsill, and whether such “room” vegetables will be tasty enough to compete with their store-bought counterpart. Those who wish can find the answer to this question and all the necessary instructions for the implementation of an unusual undertaking in our review.
What varieties of tomatoes can be grown at home
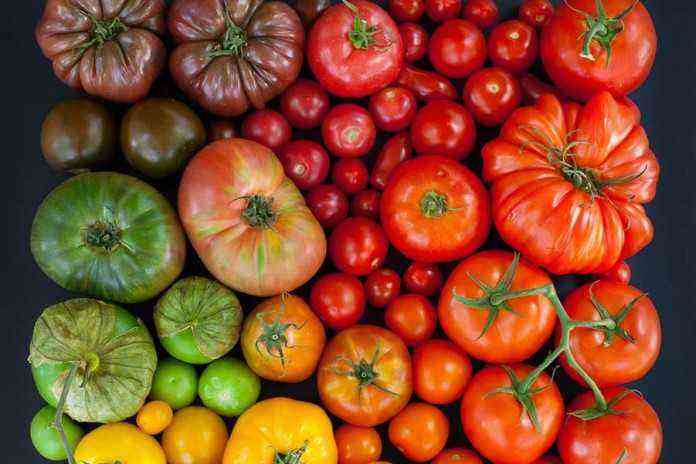
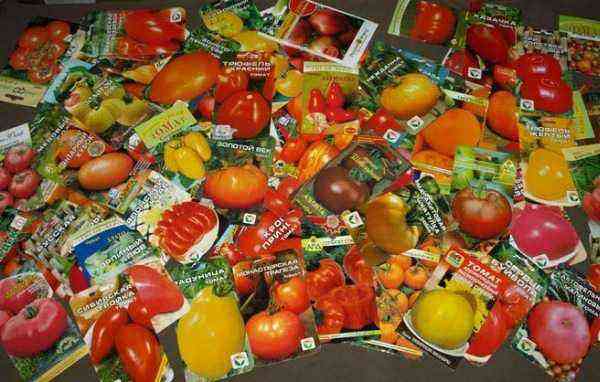
There are a huge variety of varieties and hybrids of tomatoes in the world: they differ from each other by different criteria, including recommended growing conditions. Some tomatoes are focused on planting in open ground, others give better yields in greenhouses.
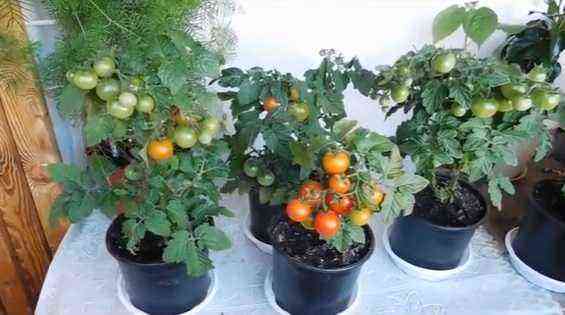
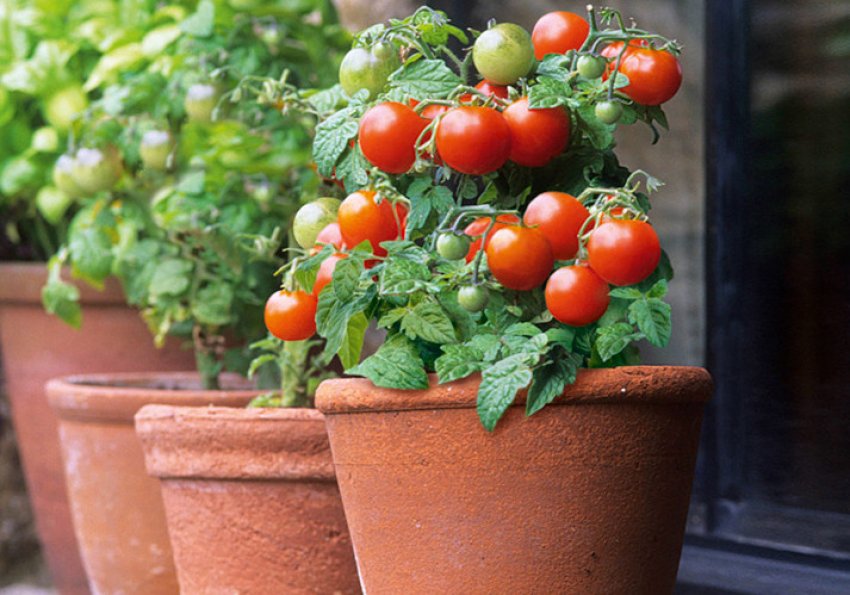
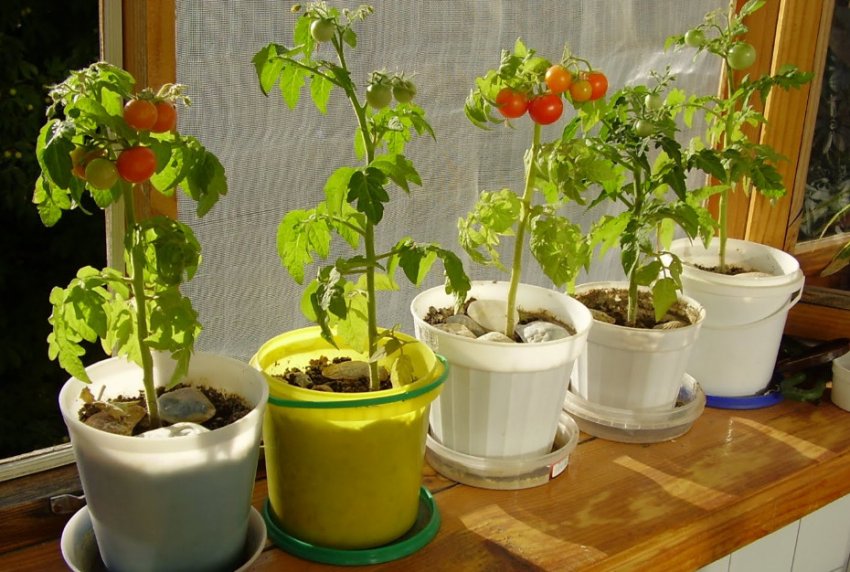
Recently, varieties have also begun to appear, specially oriented for planting in apartments, as a kind of houseplant. Their names usually include the words “balcony”, “potted”, etc. However, a novice gardener needs to understand that any classification is very arbitrary.
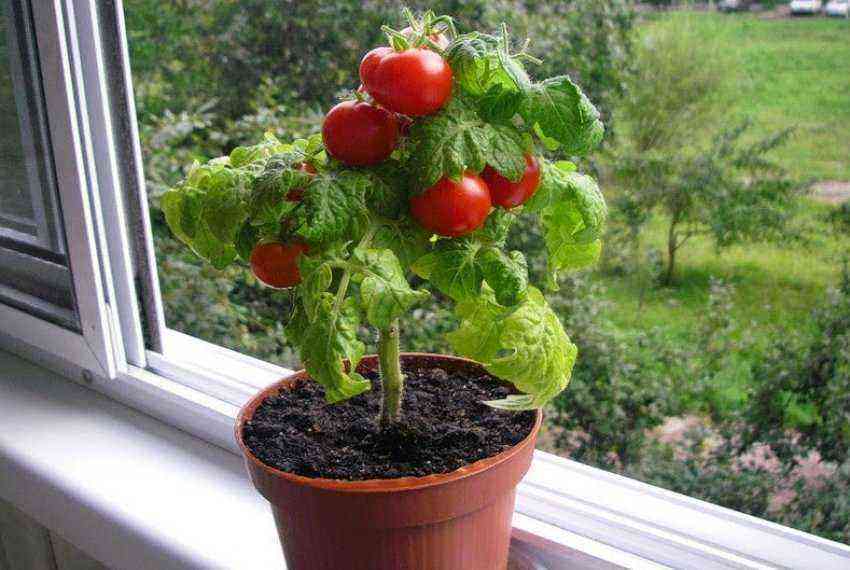
When choosing a variety or hybrid for growing a house on a window, it is important to focus on its following characteristics:
- small fruit (large fruits in a limited volume of the pot, the root system of the bush simply cannot feed);
- resistance to fungal infections;
- shade tolerance;
- precocity
- high yield.
The last two conditions are necessary due to the fact that the plant will have to develop in conditions that are obviously very far from natural.
Usually for growing in pots, it is recommended to use low-growing tomatoes (with a determinant type of bush), but other options are possible. There are liana (curly) and creeping varieties of tomatoes, they are also quite suitable for home planting.
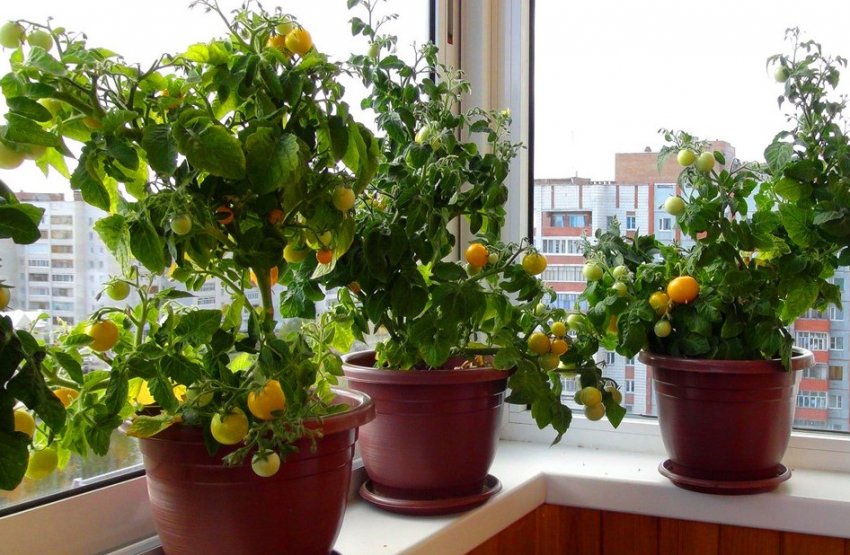
For example, on the windowsill you can grow the following varieties of tomatoes:
- “Balcony miracle red”;
- “Balcony miracle yellow”;
- “White filling”;
- “Bonsai”;
- “ox ear”;
- “Potted Red”;
- “Potted yellow”;
- “Oak”;
- “Thumbelina”;
- “Red Pearl”;
- “Pearl yellow”;
- “Craiova”;
- “Red Riding Hood”;
- “Leopold”;
- “Pygmy”;
- “Pinocchio”;
- “Pinocchio orange”;
- “Renet”;
- “Pink Angel”;
- “Pink honey”;
- “Ruby red”;
- “Garden Pearl”;
- “Titmouse”;
- “Northern Baby”;
- “Snegiryok”;
- “Yamal 200”.
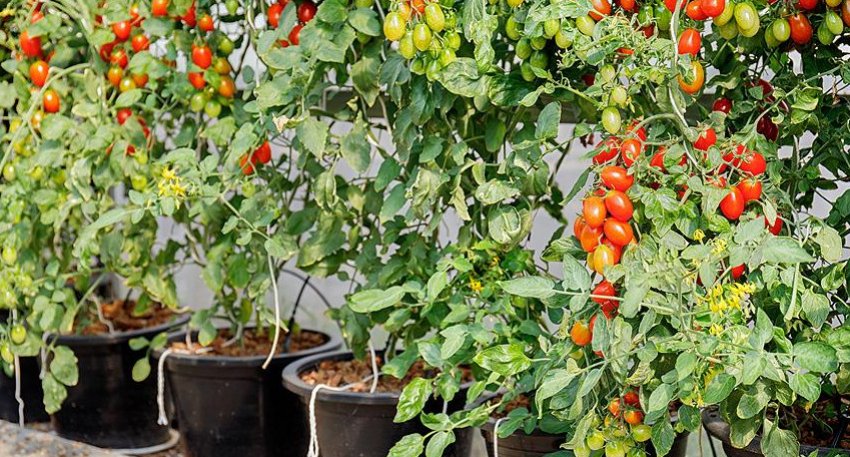
If we talk about hybrids, then among them it is worth paying attention to the following options:
Features of growing tomatoes at home
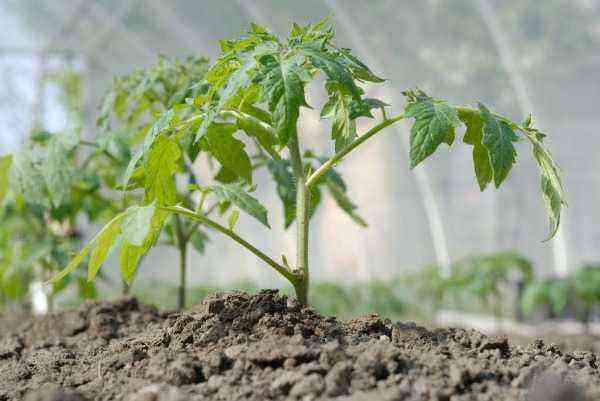
Regardless of whether tomatoes will be planted in open ground, in a greenhouse or left to grow on a windowsill, it is better to grow them with seedlings.
Did you know? Tomatoes can be propagated not only by seeds, but also vegetatively, through rooting cuttings. This method does not have wide practical application in traditional agriculture, but for those who want to grow crops at home, it can be very useful. Thus, it is possible to “transfer” an already sprouted bush, or rather, its fragment, directly from the garden to the apartment, saving time and effort on caring for seedlings.
The technology for growing tomato seedlings is generally standard, the distinctive features for plants intended for growing indoors are insignificant.
Terms of planting
If usually tomato seedlings are grown from early March to early April (depending on the climatic zone), then this rule is not suitable for “home” tomatoes. Since you want to take the fruits from such a plant when there are no seasonal vegetables on the shelves, that is, ideally, before the New Year, it is worth thinking about the future harvest in September. Moreover, it is not worth delaying sowing, since the light-loving nightshade culture makes very high demands on the duration of daylight hours, and the shorter it is, the harder it will be for it to form.
Optimal growing conditions
Tomatoes in general cannot be called a capricious plant, however, in order for it to bear fruit, at least three parameters must be within a well-defined range – temperature, humidity and lighting.
Air and soil temperature
The temperature regime is perhaps the simplest condition that can be created for tomatoes in a city apartment.
Of course, usually it is not so hot in a heated living room, however, this parameter will not go beyond the permissible limits. So, the growth of a tomato stops when the thermometer readings fall below +10 ° C, and pollination decreases if the air warms up to more than +30 ° C. As for the soil temperature, here the lower critical indicator is +13 °С, the upper one is +25 °С.
Important! The ideal temperature range for tomato growth is +20–22 °C, and during the fruiting period, the plant develops best at a temperature of +26–28 °C.
Thus, if you do not take out the tomatoes in the winter on an unheated balcony, the plant has every chance of remaining viable, although it will still lack a few additional degrees for absolute comfort.
Humidity
Tomatoes need soil moistened to 80-85%, and air with a relative humidity not exceeding 65%: at 70% and above, the likelihood of developing fungal diseases in tomatoes increases, in addition, their pollen becomes heavy, loses volatility, and therefore decreases likelihood of fruit set.
Despite the fact that in a city apartment a tomato is more likely to be threatened by dry air than excessively humid, you should not spray the plants on top of the leaves – it is better to put a container with water or moistened expanded clay, sand or other moisture-intensive material in the immediate vicinity of the pot. Also, if possible, containers with plants should not be placed in close proximity to the heater.
Lighting
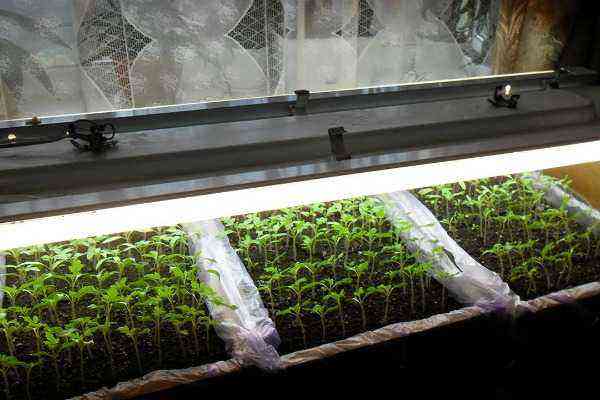
Lighting is the biggest problem that a person who wants to grow tomatoes in an apartment can face. The fact is that tomatoes cannot bear fruit with a short daylight hours. Modern technologies for growing seedlings of this crop involve round-the-clock illumination of seedlings during the first three days, after which the supplementary lighting regime is reduced to 18 hours a day. Approximately the same indicators should be observed at the time of fruit setting and especially their ripening.
In low light, tomato bushes stretch out, the plant begins to hurt, and out of three flowers, a maximum of one can be pollinated.
Did you know? Scientists from the Wageningen Research Center (Netherlands) conducted an experiment in 2005: 4 groups of tomatoes of the same variety were grown under different lighting conditions – the plants received 12, 15 and 18 hours of light per day, and in the latter case, supplementary lighting was carried out with varying degrees of intensity. The results of the experiment showed that the yield of tomatoes is directly proportional to the amount of light received by the plant.
Soil preparation and seed harvesting
Tomatoes grow well in loose, light, organic-rich soil with a neutral reaction (pH level in the range of 6,5–7). A suitable substrate can be picked up at a gardening or flower shop, or prepared independently by mixing leaf soil, peat and humus in equal proportions (you can use compost). If the earth was originally clay, it can be lightened by adding sand, perlite or vermiculite. To disinfect and enrich the potassium necessary for tomatoes, it is useful to add a little wood ash to the mixture (it is better to use the ashes of young deciduous trees).
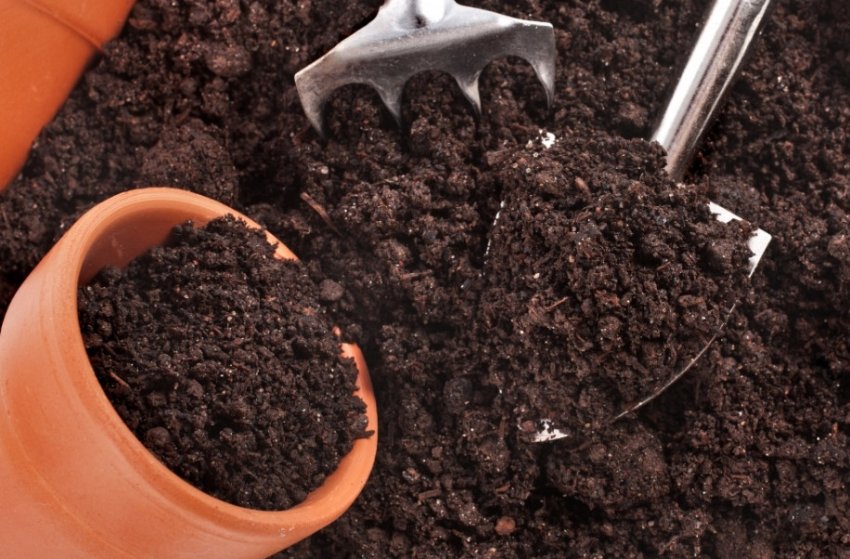
Before use, self-prepared substrate must be disinfected. To do this, pour it well enough with a weak solution of potassium permanganate, but you can also warm it up for several hours in an oven heated to +70 ° C. In addition, you can set the soil to frost not lower than -10 ° C, leave it there overnight, then bring it into heat for several days and then freeze it again during the night (so the bacteria and fungal spores that have awakened after the heat will be finally destroyed).
Tomato seeds also need preplant preparation. The exception is expensive European hybrids, which have passed all the qualifying and hardening events at the stage of pre-sale preparation.
Harvested independently or purchased tomato seeds should first be sorted. To do this, the contents of the bag are poured into a glass of warm water, in which a tablespoon of salt is previously dissolved. After ten minutes, all the seeds that remain floating on the surface are removed, and in further work only specimens that have sunk to the bottom are used.
The next step is disinfection. For these purposes, a weak solution of potassium permanganate is best, but you can use aloe juice, a two percent solution of hydrogen peroxide, or other disinfectants. In them, the seeds are soaked for 60 minutes.
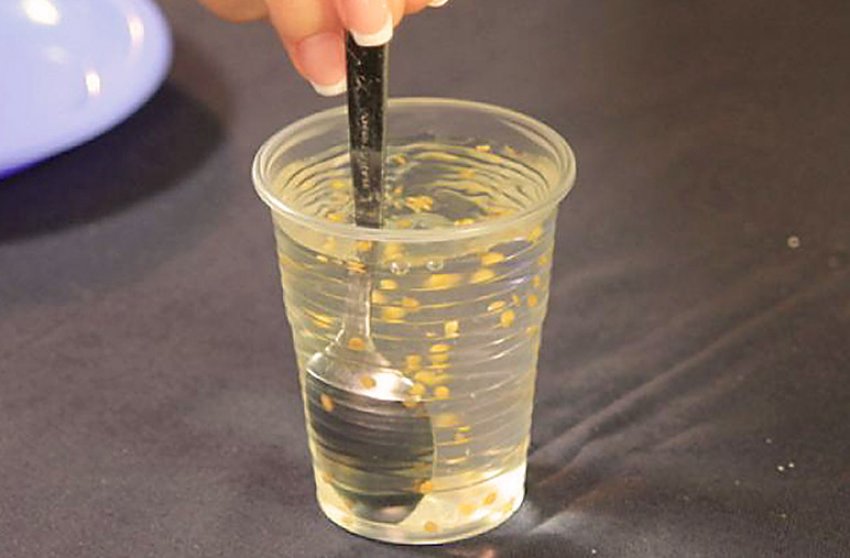
Finally, the selected and “etched” material must be fed to speed up the process of germination and rooting. Growth stimulants in an assortment are sold in specialized stores – for example, you can use drugs such as Zvyaz, Buton, Energen, Zircon, Heteroauxin, Vympel, Kornevin, etc. Prepared seeds are placed in a solution of any of the listed agents and left warm overnight. To consolidate success, you can put the seeds between two layers of fabric soaked in a rooting agent, wrap the resulting bundle with polyethylene and place in a warm place for two to three days.
Important! Hardening, which is recommended to be carried out before sowing ordinary seedlings of seeds, can be omitted for indoor tomatoes.
Sowing and seed care
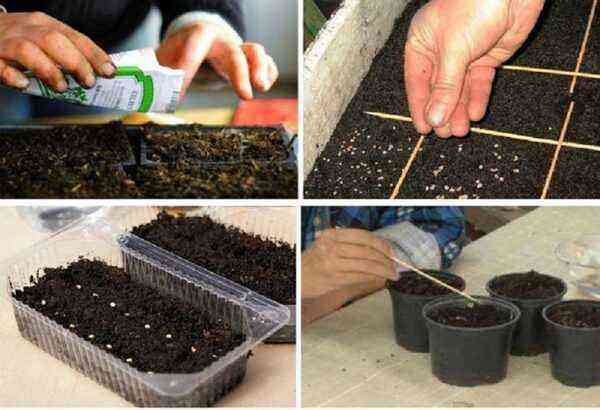
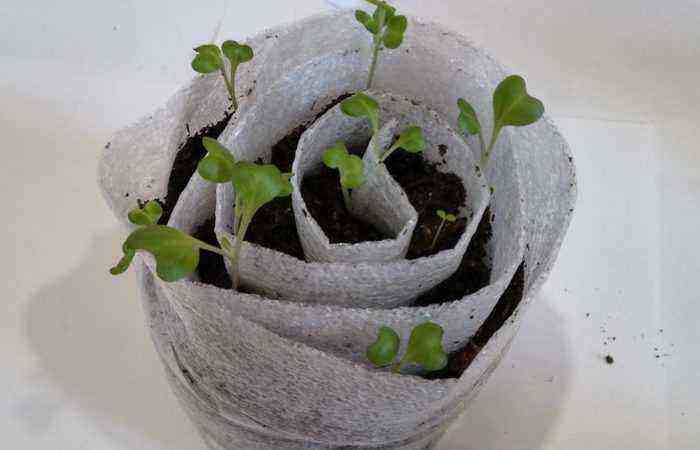
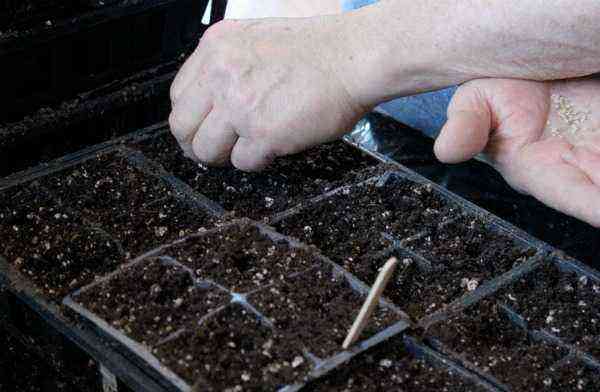
Sowing tomatoes is initially done in small containers – shallow boxes, boxes or special cassettes for seedlings.
When sowing, you can use the following instructions:
- Fill the container with the prepared substrate by 2/3.
- Water the soil generously.
- Lay the seeds on the surface. When using cassettes, one seed is placed in each cell; in boxes, the laying is carried out in rows – so that the distance between adjacent seeds is not less than 3 cm.
- From above, the seeds are sprinkled with a layer of moistened substrate 1 cm thick.
- Watering the soil should not be, so as not to deepen the seeds – just lightly spray it with water from a spray bottle.
- Cover the container with foil and place in a sunny, warm place for germination.
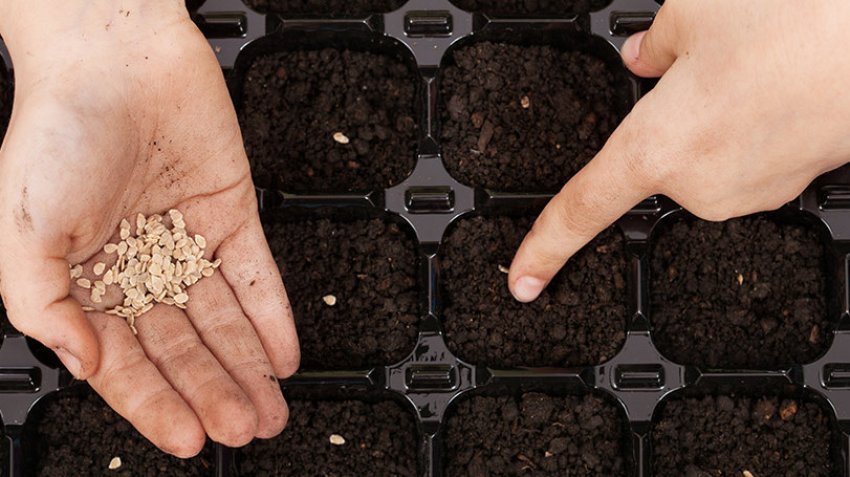
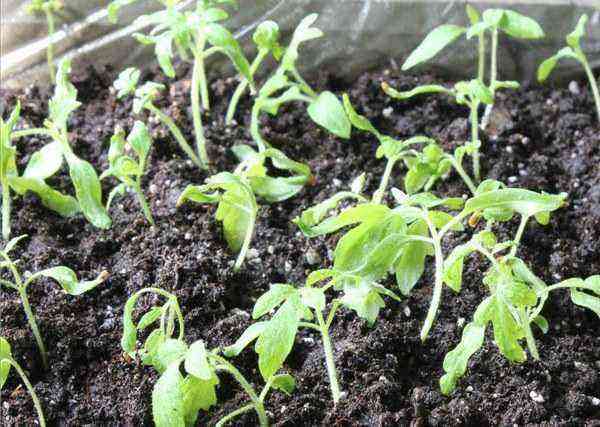
After the appearance of the first shoots, the film must be removed, but not immediately, but removing it first for several hours and gradually increasing this time. At first, watering the seedlings is only necessary by spraying or dripping (syringe or pipette). Until the first true leaves appear on the bushes, it is recommended to keep the seedlings in a cooler place, then the temperature should be increased again.
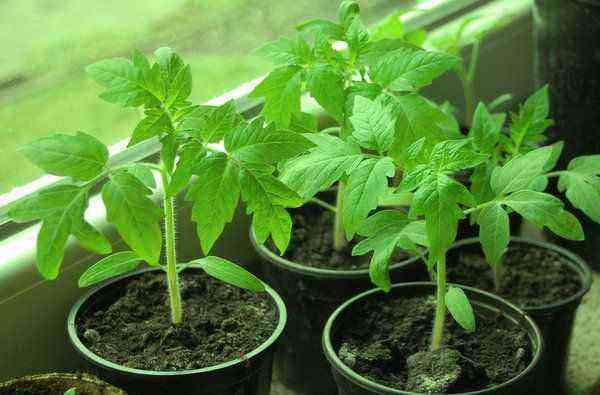
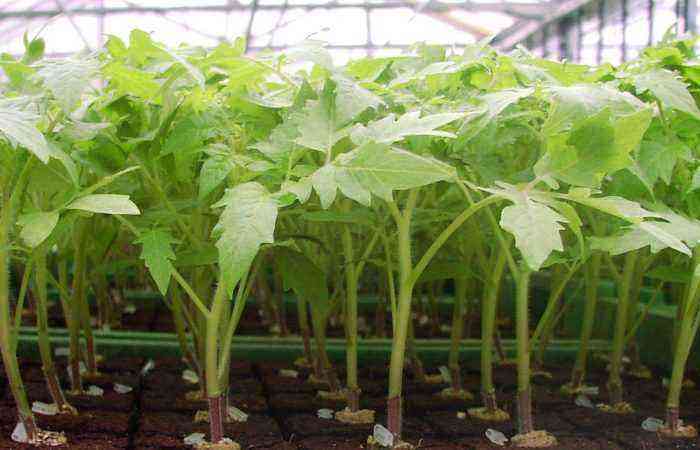
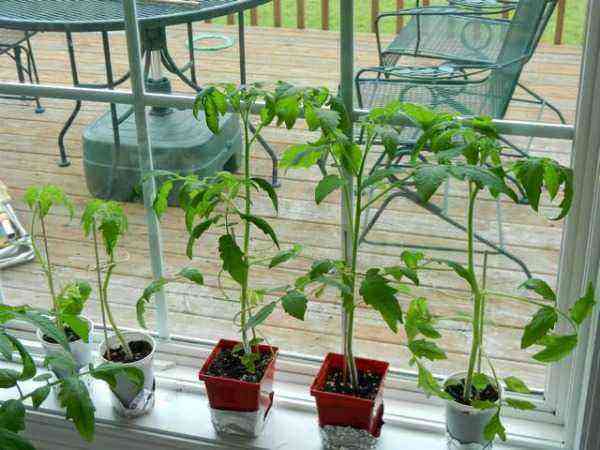
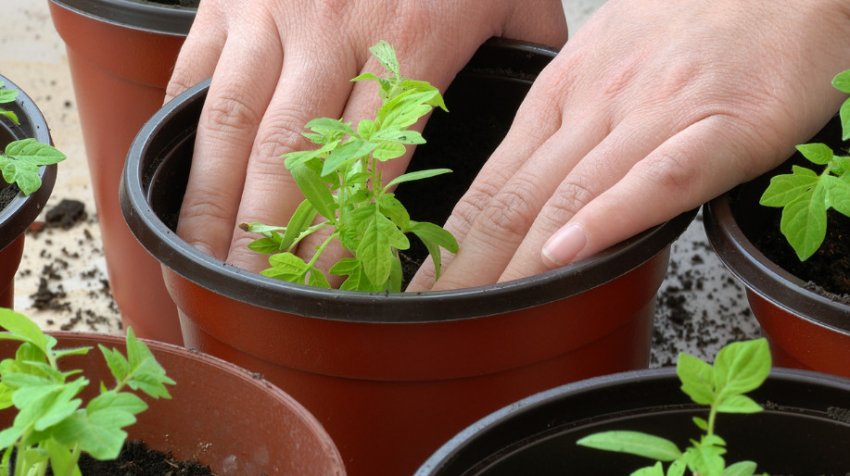
After the bushes get a little stronger (they form 3-4 true leaves, depending on the initially chosen capacity and seedling density), they are transplanted into pots for constant growth. The volume of this container is one of the most important conditions for growing indoor tomatoes.
The selection rules are shown in the table:
Type of tomato Pot volume in liters Dwarf 2 Medium-sized 4 Curly and creeping (ampel) 5
In order not to damage the weak root system of the plant, moving to a permanent pot is best done by transshipment (without destroying the earthen clod). When planting seeds in seedling cassettes, this procedure is very easy to carry out. If the seedlings grow in a common box, you can use a teaspoon, grabbing an earthen ball with it and trying not to hook the roots of neighboring bushes.
How to care for tomatoes
The main care for tomatoes at home is to create for the plant those conditions (temperature, humidity, lighting), to which it is especially demanding. All other activities are of an auxiliary nature and can only slightly improve the final result.
Fertilizers and watering
Since “room” tomatoes have to be watered with tap water, which uses chlorine to clean, the liquid must be prepared in advance – for this, the water settles for several hours. In addition, before use, it needs to be slightly warmed up. Tomatoes react very poorly to hard water, so if possible, stock up on bottled or at least rain or melt water for irrigation.
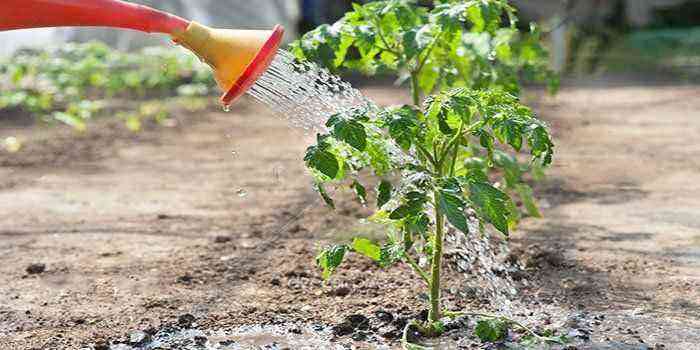
Water the bushes should be as the topsoil dries up. The frequency of the procedure depends on the humidity of the air, it can be once every two to three days or less often. You should try to pour water along the edges of the flowerpot, avoiding its contact with the stem. Firstly, in this way the risk of root damage is minimized, and secondly, the development of fungal infections is prevented.
Important! The so-called bottom watering (into the container in which the pot stands) is not very useful for indoor plants. This method leads to the leaching of nutrients from the upper layers of the soil and its depletion.
When it comes to fertilization, it is very important not to overdo it. If the soil was initially chosen correctly, the tomato will have enough necessary nutrients for normal growth and fruiting. Approximately two weeks after planting, a standard portion of complex mineral fertilizer can be added to the pot, and then repeat the procedure at the stage of fruit formation, but in this case, focus on elements such as phosphorus, potassium, magnesium and calcium, limiting the content of nitrogen in the preparation, which enhances the growth of the green parts of the bush to the detriment of fruiting.
How to pollinate tomatoes
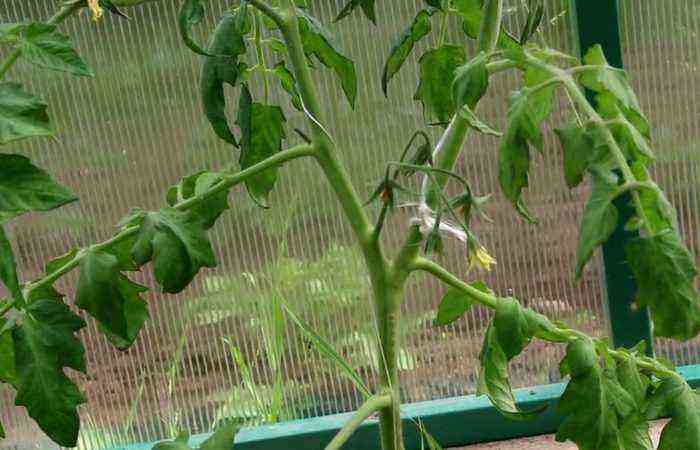
The tomato does not have male and female flowers: the plant pollinates itself. For this to happen, the pollen from the mature and burst anthers must land on the stigma of the pistil. However, if for some reason this did not happen, the pistil begins to stretch in length, thus increasing the likelihood of pollen from neighboring flowers falling on it.
In an open garden, such a trick really solves the problem of pollination – this is facilitated by the wind and insects flying from flower to flower. But in a room where the air is still and there are no natural “pollinators”, the flowers of tomatoes very often fall off without being pollinated. For this reason, when growing tomatoes in an apartment or greenhouse, you need to worry about artificial pollination.
Important! A pollinated flower is easy to recognize by the petals wrapped back.
For artificial pollination, several methods are used. One of them is to create an artificial wind or vibration. For example, some people blow plants with a fan or a hair dryer (in the latter case, the device must have a cold air mode). Others simply shake the bush gently to disperse the pollen from each flower as far as possible.
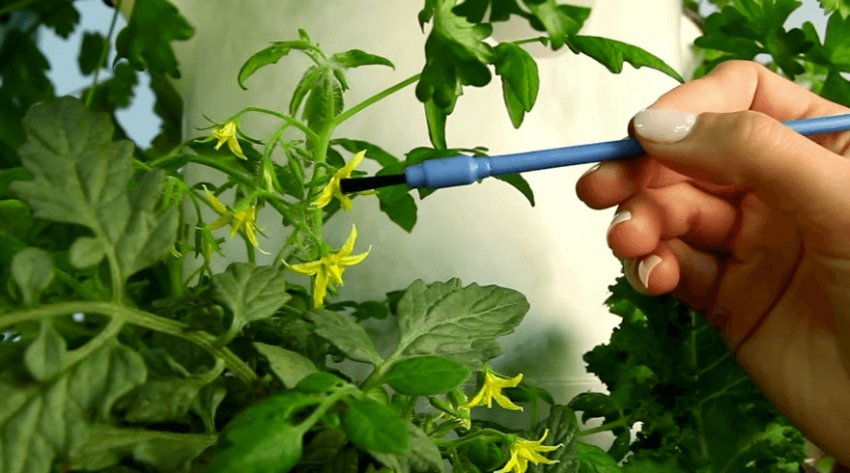
You can also act on the “bee” principle: armed with a thin and soft brush, walk through each flower, transferring pollen from one to another. However, this method requires great care, since any careless movement can damage the stigma and the flower will die.
Bush formation and pinching
Not all indoor tomatoes need to be shaped. In particular, dwarf varieties do not require this procedure. For all other varieties, it is important to remove all unnecessary shoots (stepchildren) in time, forming a plant into one or two trunks, depending on the variety.
Plucking stepsons is carried out as they appear. In addition, if the plant begins to stretch upward or obviously cannot hold the fruit brushes, it is necessary to build a support for it and tie falling branches to it.
Important! When the first fruit brush is formed on the bush, its top must be carefully pinched off. This trick will ensure faster ripening of the fruit.
Many gardeners also recommend removing most of the leaves from the bush as the fruits are set, so that the plant directs all its forces to the ripening of the crop, and not to a set of green mass. In addition, the leaves can obscure the ripening tomatoes from the light, the amount of which in the apartments is already limited.
Prevention of diseases and pests
One of the main advantages of homemade tomatoes over purchased ones is the confidence that they are grown without the help of pesticides and other chemicals. Therefore, the best way to prevent diseases of indoor tomatoes is to create optimal conditions for plants, as well as early disinfection of the soil and seeds before planting.
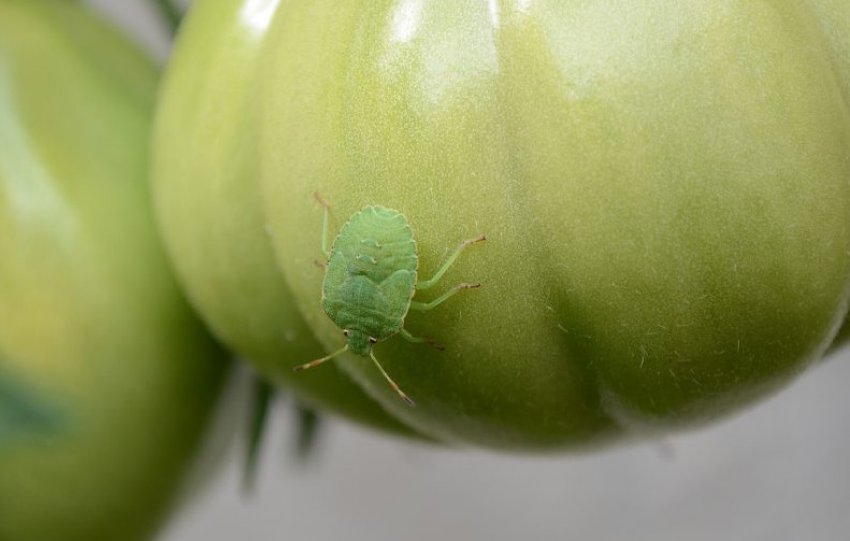
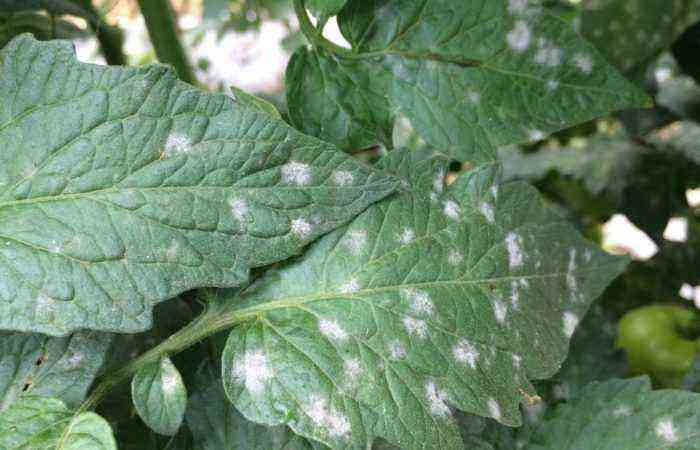
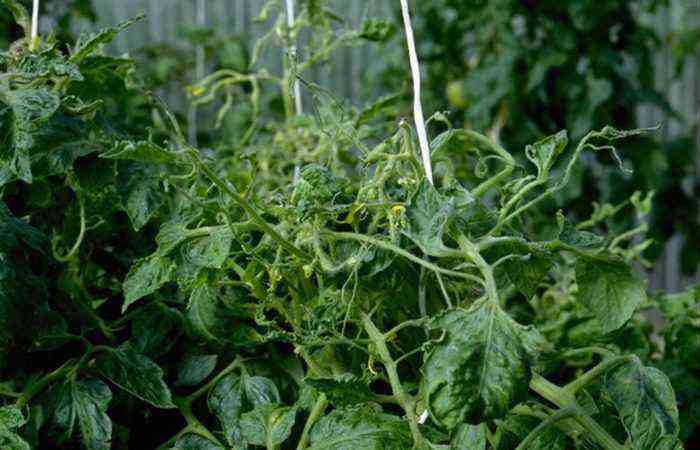
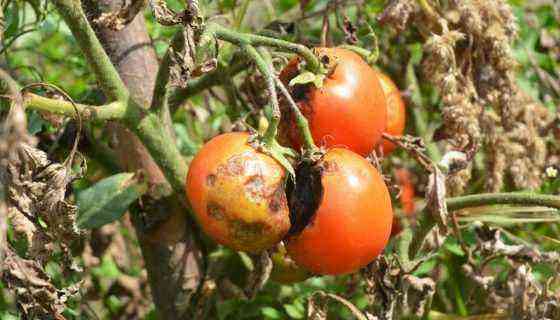
Despite the fact that insect pests and other disease-causing organisms seem to have nowhere to appear in closed ground, in practice, infection can still occur. The pathogen can remain in the soil or seeds, be blown in by the wind from an open window, in addition, other indoor plants and even house dwellers often become a source of infection, bringing pathogenic microflora on clothes.
Healthy immunity, which provides the correct agricultural technology for growing tomatoes, should help the plant cope with the problem on its own. However, the infected plant should in any case be isolated from other bushes as soon as possible.
As a treatment, you can try using modern biological preparations that are not toxic, can be sprayed indoors and do not interfere with the use of the crop. Examples of such drugs are Fitosporin, Guapsin, Verticilin, Boverin, Bitoxibacillin and others. If recovery does not occur, the plant should be disposed of, and the soil in which it grew cannot be used either.
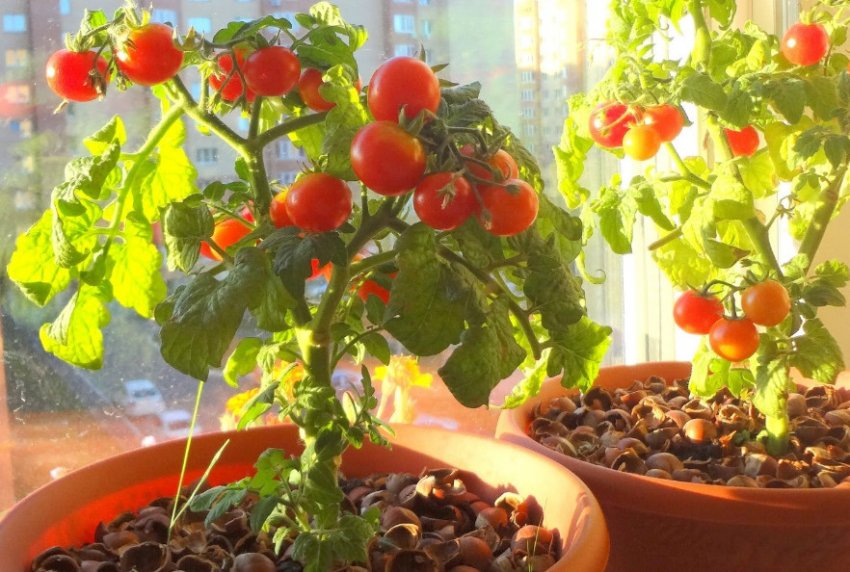
Growing tomatoes on a windowsill is an easy process. The biggest problem that can arise in this case is the lack of lighting, because it is to him that the described culture is especially demanding. It is quite possible to create all other conditions necessary for the normal development and fruiting of tomatoes in a living room, so the desire to decorate the New Year’s table with fresh “home” tomatoes is feasible.
