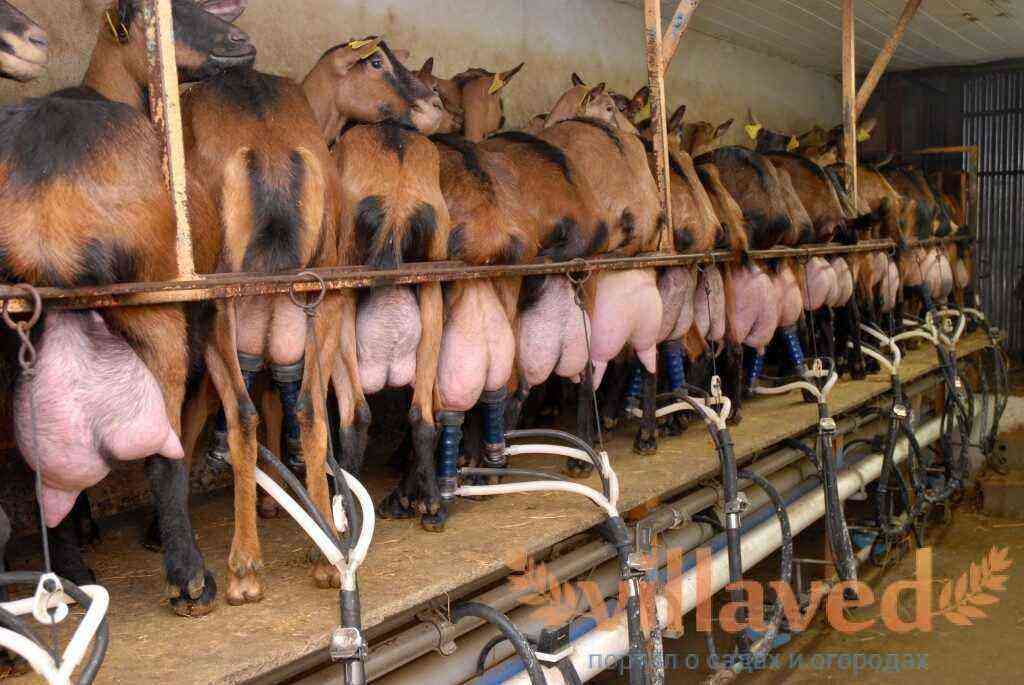
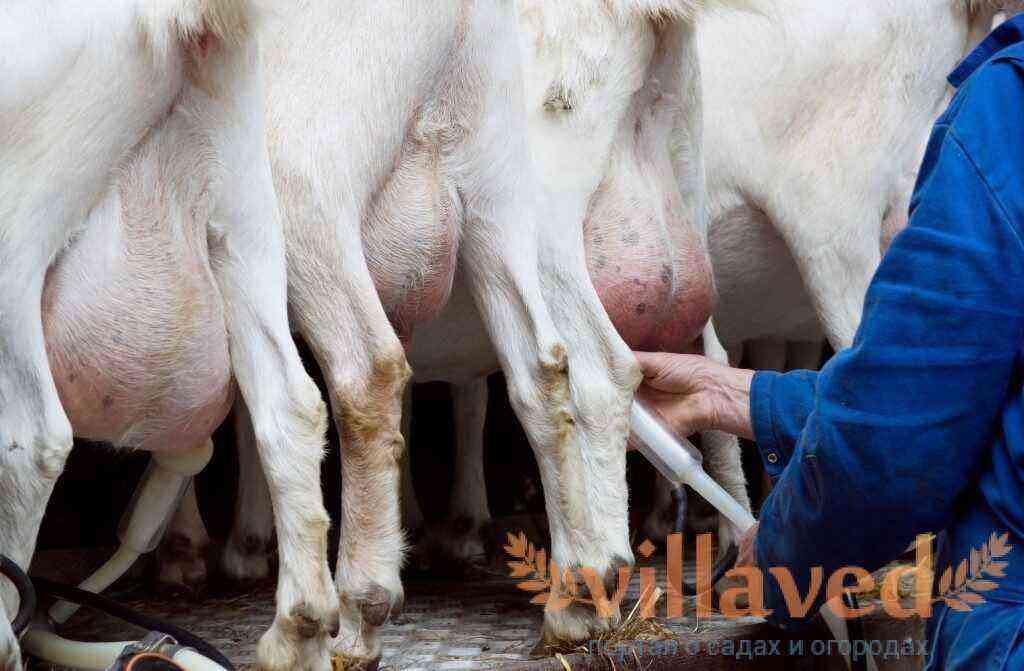
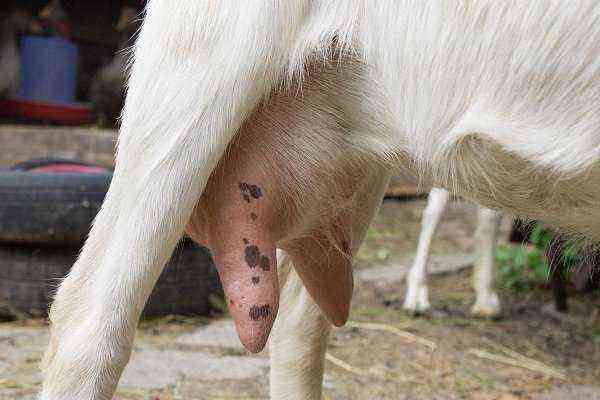
Milking small cattle is an energy-intensive, inconvenient and nerve-wracking process for both parties. Goats kick in a cramped stall, they can spill a container of milk. The goat milking attachment is the simplest solution for optimizing milking. Usually this is a special machine that is bought ready-made or made independently. Increasingly, farmers and even large farms choose this option, since the machine can be milked manually or with a special milking machine.
Goat milking machine
The content of the article:
Why a milking machine is necessary on the farm
The main advantages of the machine:
- If the farm has less than 3 goals, it is possible to handle the old fashioned way. With a larger number, the machine is a necessary device for efficient milking.
- In addition to the main function on the goat machine, you can cut the wool around the udder and wash it, carry out the necessary hygiene procedures, trim the hooves.
- This simple and uncomplicated device is easy to make yourself, and the time and resources spent on its manufacture will pay off with interest in the first months.
- Convenience. The animal is distracted by food from a special feeder, so it is easy to connect a milking machine or do everything manually.
How to make a goat milking machine? It does not take a lot of time, effort and money. You will need an inch board, a beam measuring 50×50, fastening materials (a screwdriver and self-tapping screws). Knowing the principle and sequence, you can make the unit without a circuit, showing creativity and improving the mechanism yourself in the process of work.
Components
There are many options for milking machines, but each of them contains:
- Platform mounted on 4 or 6 support legs. A smooth and non-slip platform will prevent injury to the animal. The most convenient length is 1,20 m.
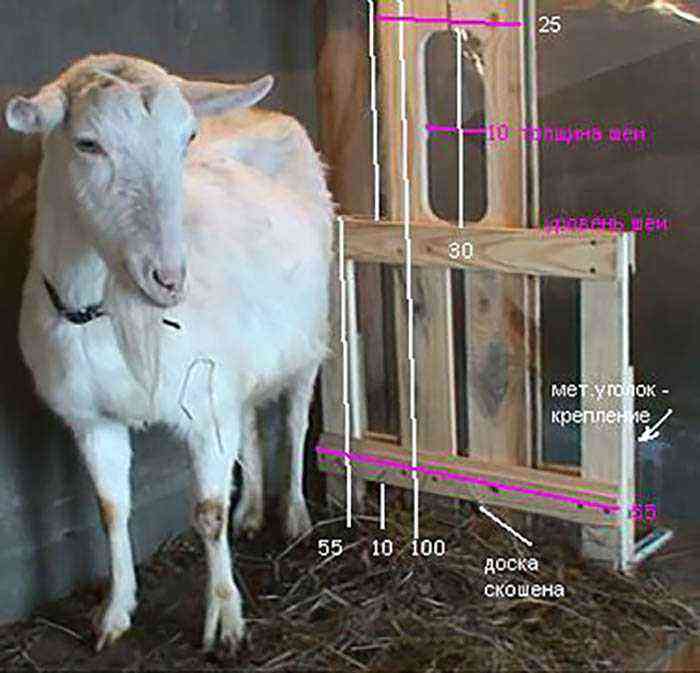
- Clip for the head of a goat. It should be mounted in front on two supports.
- A small ladder for entering the platform.
- Wooden bowl for food (fixed below the clamp and in front of the machine).
- If desired, you can install a kind of lattice or net around the goat’s body, then be sure to fix the locking device so that the lattice does not open: a rail or a pin.
Machine base assembly
For the base of the machine you will need:
- Legs – 4 pcs. Size: 5 x 10 x 30 cm;
- Sidewall – 2 pcs. Size: 2,5 x 10 x 120 cm;
- Butt – 2 pcs. Size: 2,5 x 10 x 50 cm;
- Bar – 2 pcs. Size: 5 x 5 x 50 cm;
- Boards for the platform – 3 pcs. Size: 2,5 * 18 * 120 cm. Instead of boards, you can use OSB board: it is easier and more convenient to mount it.
To assemble the base, we connect 2 front and 2 rear legs to the end, placing them on the same level as the top ones. Then we attach the resulting part to the sidewall. From the right and left edges, you need to attach 2 bars at a distance of 40 cm. Check which corners are at the point where the end is attached to the sidewall. They should be straight (90°) and level. Then we fix the platform boards. Its height and width can be any, it all depends on the ability and desire to make a ladder or steps. All sharp edges must be processed.
Assembling the Stand and Head Clamp
To build a rack and goat head clip, you need the following parts:
- Rack — 2 pcs. Size: 2,5 x 10 x 50 cm;
- Bars – 4 pcs. Size: 2,5 x 10 x 50 cm;
- Reiki — 2 pcs. Size: 2,5 x 10 x 120 cm.
We build the corner that needs to be cut at the counter. We measure from the top corner down 10 cm, to the left – 5 cm and draw a line. Then cut out with a jigsaw. We fasten the bars across: the first is at the top, the second is 10 cm lower. Stepping back from the bottom edge of 50 cm, we mount a hole for the goat’s head. One rail must be fixed motionless. The second is to install at a short distance and fix it with a bolt only from below, then we drill a hole in 3 parts.
We install the mount for the feeder and the feeder itself. Usually it is a small wooden box.
The final stage
- Combine the base with the stand so that the bottom rests on the platform.
- Fasten the corner brackets.
- Refine the way the head clip is secured: with a hook or cord.
Materials and knowledge of the assembly sequence will allow you to quickly build a structure. It will take an average of 2-3 hours to make.
This device can be installed against the wall and fixed. It is convenient to make it portable in order to milk it outside in the warm season. The machine must be installed where there will be no other animals. Distractions will interfere with the milking process, and the goats will take a long time to get used to the new design.
It is necessary to remember about the safety of animals – make all corners and edges rounded. Do not forget that at first the goats will get used to and kick for a long time. From the second, third time there will be no problems.
The machine can be made of any size, the main thing is that it is convenient to use it. This design allows you to milk the animal from both sides or use a milking machine.
Operation of the milking machine
Check the milking attachment for safety and comfort.
After making the holding device, see if the goat will stick out its head on its own. The problem is the distance between the rails. It is easy to solve if you make a smaller angle.
Be sure to fix the head by the horns or neck with a rope.
There may be some difficulty at first. Until the goats are accustomed to the structure, they will balk and will not want to enter the platform. But after several procedures, the problem will be solved: the animals will easily enter on their own.
Steps are made to the platform at will. But if the height is small, then the animal will jump on its own. In addition, without steps, the device is more mobile: it can be easily taken out into the street or moved in a barn.
The milking machine must be kept clean: remove manure, clean the feeder and other surfaces as necessary. Then he will serve for many years, facilitate work and give time for other things.
