Goose feather has long been an excellent filler for pillows and blankets, as well as a material for creating various decorative elements. Products from it are light, warm, resistant to moisture. Therefore, the correct collection of feathers is one of the most important tasks of the farmer.
Preparing for plucking
The result of plucking a goose depends on proper preparation. Therefore, when starting the procedure, observe the following rules:
- For about half a day on the eve of slaughter, the bird must be kept in a clean, darkened room so that the plumage is clean.
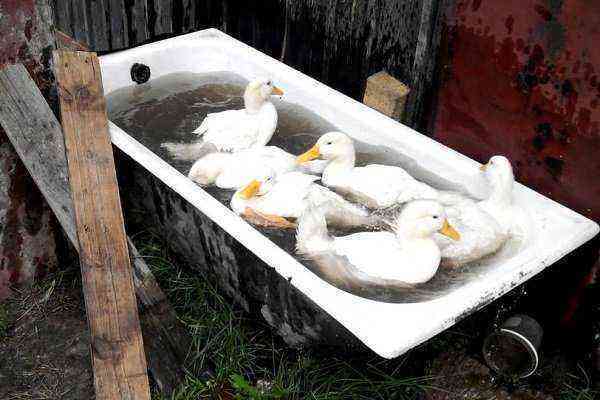
- If your farm is located near a body of water, then the day before slaughter, you can let the geese swim.
- The day before the preparatory measures, the bird is soldered with a weak saline solution to clean the intestines.
- Geese are not fed 12 hours before slaughter, and when about 4 hours remain, they stop drinking.
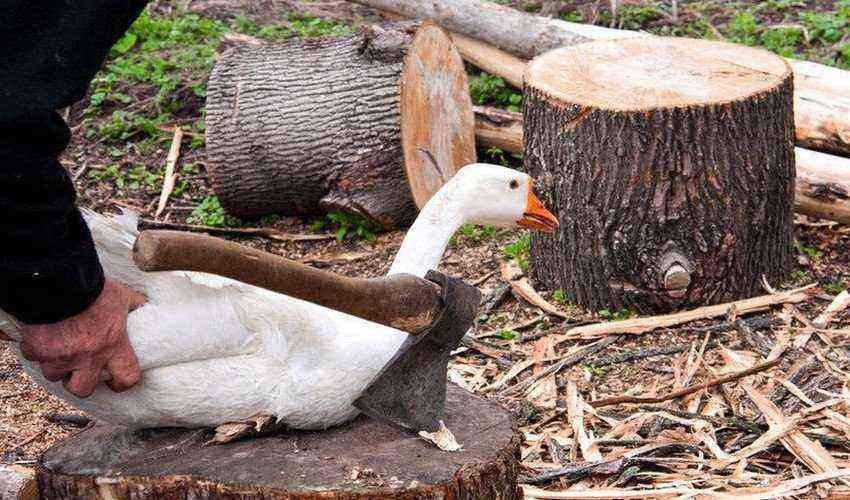
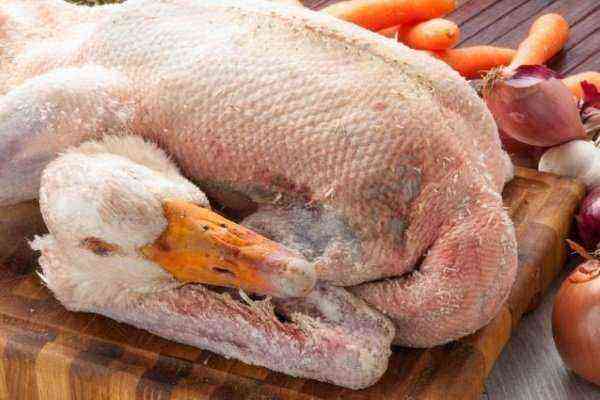
- After slaughter, the blood is allowed to drain completely from the carcass. This makes it easier to work with the pen and gives the meat a “venal” look.
When the blood is completely glassy (2-3 minutes), the bird is plucked by various methods, including by means of preliminary scalding.
Methods for plucking a goose at home
Plucking the carcass is carried out according to a certain scheme:
- First, remove large feathers from the tail and wings.
- Then the turn follows the small ones on the back, belly, shoulders and paws.
- The rest of the fluff is singeed.
- The collected material is then sorted by size according to its purpose, for example, breast and neck feathers of small size are suitable for filling pillows.
There are different methods of plucking, consider the most basic of them.
Did you know? In Tibet, the goose is a sacred bird, so it is treated with special reverence.
Manually
For manual extraction of feathers, it is enough to have simple devices at hand and a little skill.
In a dry way
This method is great for those who decide to pluck the bird right away.
- Advantages of the dry method:
- speed of execution;
- no need for additional devices;
- there are no additional costs.
- Cons of the dry method:
- the need to do everything quickly, immediately after slaughter;
- the impossibility of further use of feathers (fatty fibers remain on them).
The method itself looks like this:
- For the convenience of manipulating the carcass, wings and paws are tied to it, and placed on the table.
- First, large feathers are removed, then fluff.
- Plucking is done according to the growth of plumage.
- The tail is plucked last.
- The final stage is singeing and gutting.
Video: how to pluck a goose in a dry way
cold way
- Advantages of the cold method:
- a refrigerator is all additional equipment;
- fast execution;
- the skin remains intact.
- Cons of the cold method:
- carcass preparation is needed (the goose is kept in the cold for at least 3 hours);
- electricity costs;
- the pen is still unusable.
Technique performance:
- The carcass is cooled for about 4 hours. The time interval is adjusted in accordance with the power of the refrigerator, the main thing is that the bird is cold.
- Then pluck the feather in the direction of growth.
- The plucked bird is singeed and gutted.
Did you know? With good care, geese live a very long time – up to 25 years!
Scalding technique
- Advantages of the scalding technique:
- feathers are easily removed;
- the basin and kettle necessary for this method are available to all;
- this method is the fastest.
- Cons of scalding technique:
- there is a consumption of water and electricity;
- it is inconvenient to pluck a hot carcass;
- The pen gets wet and can no longer be used.
Important! Using the scalding method, water must not be boiled! This complicates the process of preparing and plucking the bird.
The essence of the method is as follows:
- Water is heated to 80 °C.
- The bird is tied up with legs and wings.
- The carcass is dipped in hot water for a few seconds, making sure that all plumage is evenly scalded.
- Pulling the goose out of the water, it is immediately plucked until the effect of hot water has passed.
- By pressing on the abdominal cavity, the tail is released and plucked.
- The last stage is singeing and cutting.
Video: how to pluck a goose
mechanically
This method has the glory of being easy and affordable, as well as one that preserves the suitability of valuable material for further use. For its implementation, you need an iron with a steam function, a small pump, a container, a piece of fabric and a cord.
- Advantages of the mechanical method:
- feathers do not turn into garbage, but remain a valuable product;
- this is the most affordable way at home;
- plucking effort is minimal.
- Cons of the mechanical method:
- the need for additional equipment;
- electricity costs;
- the duration of the procedure itself.
Let’s consider this technique step by step:
- The pump tube is gently inserted under the skin on the bird’s neck.
- The neck is clamped and the carcass is gently inflated with air until the wings begin to become “sticky”. It is important not to overdo it so that the skin does not burst.
- The pump is removed by wrapping around the neck to keep the air inside the bird.
- A piece of cloth is wetted in cool water and applied to the place of the intended plucking.
- Next, the fabric is steamed with an iron (you can simply iron it, although steaming is more effective).
- Then the prepared area is easily plucked from feathers and fluff.
Important! If there is no fabric at hand, but only gauze, it must be folded at least four times. Also, an iron without the possibility of steaming is not suitable for gauze.
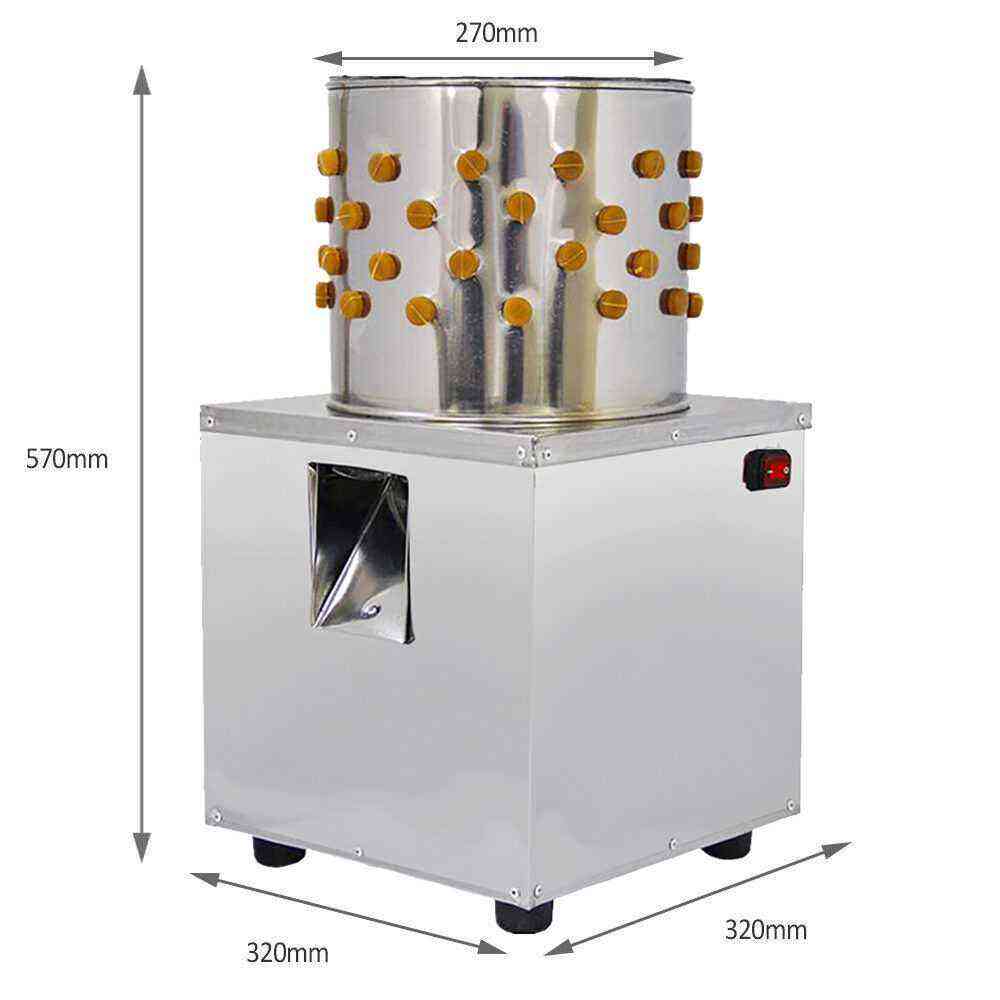
Another mechanical method is known. It will be useful for those who kill a large number of birds at the same time and you need to pluck everyone in the shortest possible time and easily. In this case, an electric drill with a special tip for plucking (sold in stores) will help. With proper skill, it will take no more than 3-5 minutes to process one carcass.
Video: how to pluck a goose with an electric drill
Further carcass processing steps
After the plucking process, the goose carcass is singeed. No special equipment is required for this, what is at hand will do: a gas stove, a burner or a soldering iron. Some enthusiasts can singe over a fire, but this is a risky business, because the skin can become very sooty and wrinkled, losing its presentation.
Before starting work, it is advisable to wipe the skin of the goose dry, since moisture affects the appearance of soot. An additional measure may be rubbing the skin with flour or bran to remove the smell of burning.
In the process of singeing, the skin is slightly pulled, gradually processing each area. This prevents the appearance of wrinkles and wrinkles. Particular attention should be paid to the hollows under the wings and legs.
Did you know? A left wing quill is more suitable for fine writing than a right wing quill because it has a smoother curve.
The final stage of manipulation is cutting the carcass:
- Make sure the skin is clean and free of lint. If you come across lonely feathers, use tweezers.
- Cut the wings along the elbow bend, remove the paws to the joint.
- Cut the belly from the cloaca to the keel without damaging the intestines.
- First of all, the gallbladder and intestines are removed. These organs are immediately thrown away, they are no good.
- Liver, gizzard, and heart are fit for food and for sale. The remaining organs are most often used to prepare food for animals and birds.
- Don’t forget to remove the so-called “cackle” tube (lower larynx).
- Rinse the carcass under running water.
- Leave the butchered bird alone for several hours. After this time, it can be cooked or frozen.
Video: cutting a goose carcass
How to collect feathers from a live goose?
The collection of feathers and down from live birds can be combined with the natural process of their molting, which occurs in the middle of summer – the end of June or the beginning of July, after the completion of egg laying. Geese grow new plumage, and the old one will be easy to remove in this way:
- Tie the legs of the bird and place it on your lap.
- Start plucking from the chest, grabbing the feathers with your thumb and forefinger.
- Do the procedure carefully and correctly, choosing only old feathers.
- Do not completely expose the skin and do not pluck the entire body of the bird at once, because it will lose its natural protection and will experience pain.
- Wings, neck, tail and other parts of a live bird must not be plucked. Only chest and back.
- If blood comes out on the skin during manipulation, stop immediately. The plucking process is painless and should not cause discomfort to the bird.
- Warmer regions of the country can afford to pluck the bird twice a year. Sometimes, if there is such a need, molting is caused artificially, but it is not recommended to get involved in this – the bird will feel bad.
Video: how to collect feathers from a live goose
How can feathers be used?
Most often, the goose feather is used in light industry. It is added as a heater to things, pillows and blankets are stuffed with it. Usually, these products use feathers and down from the breast and back, the same ones that can be collected from live birds.
Important! It is impossible to wash or clean already assembled feathers, this spoils their appearance and affects their functionality.
There are also other ways to use this material, for example:
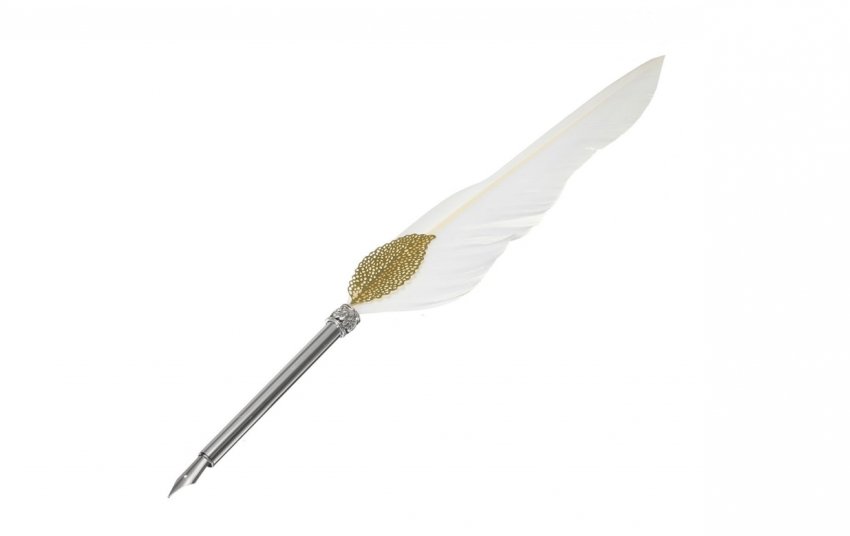
- Pen for ink. Such a thing can be used to create an interior, for styling, for costume parties and movies. The technology is simple: choose the longest and most beautiful feather (for example, from a wing), cut off part of the beard and boil for 10 minutes in an alkaline solution. Then the pen must be dried, the tip sharpened and the writing element put on it.
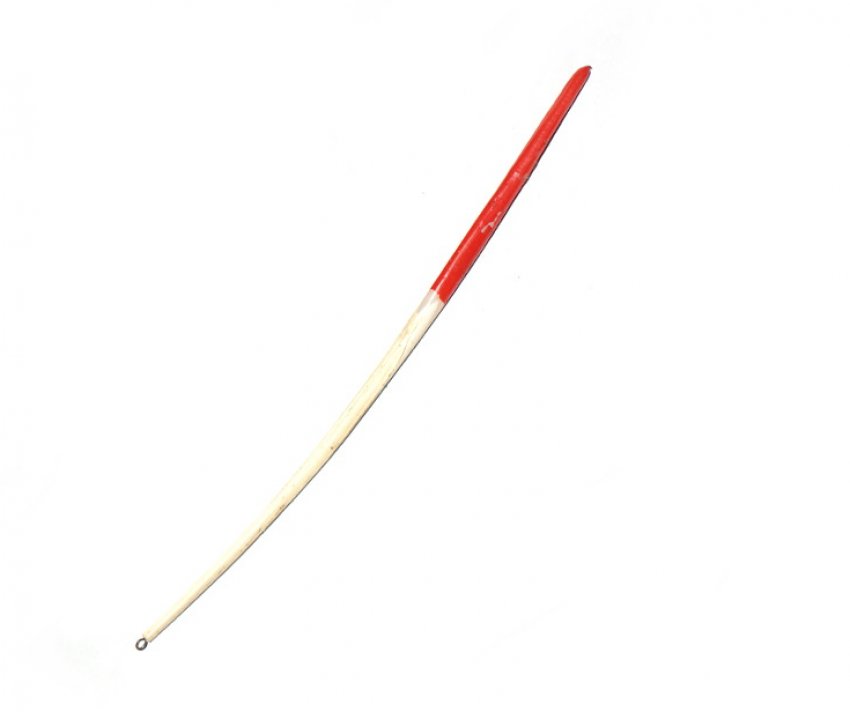
- Float. Simple, cheap and convenient tackle, familiar to many. It is effective when catching small fish when high sensitivity of the float is required. Carefully remove excess fluff from a long feather with a blade and fine sandpaper. Fasten two nipple elastic bands at the bottom, and paint the top with waterproof red paint.
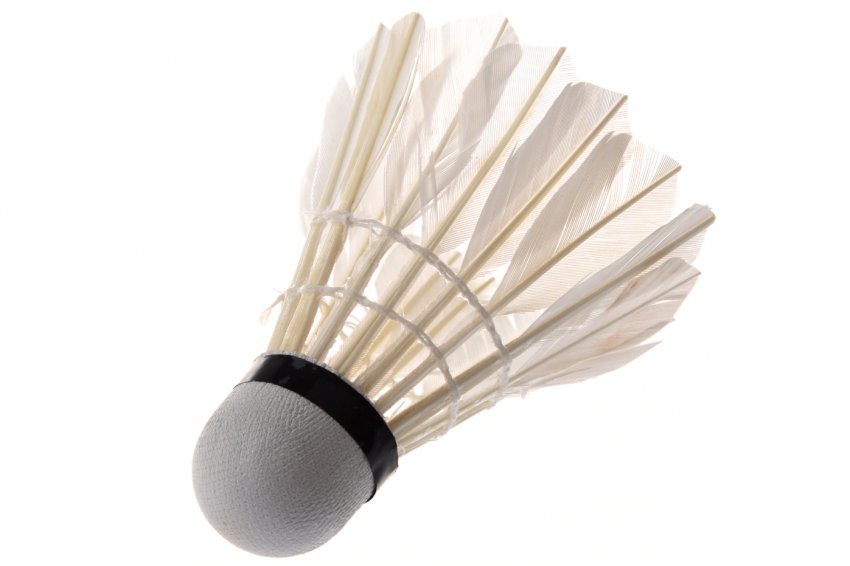
- Shuttlecock for playing badminton. It flies better than plastic. For a homemade shuttlecock, five or six cherries and about 12 medium-length feathers are needed. They are polished with sandpaper, and then stuck into the berries. The structure is dried in the sun until the berries are completely dry. Then everything is collected together and the berries are tied in a small cloth bag.
- Down is highly valued for its lightness and thermal insulation qualities, so it is good to use it as a filler for warm jackets and coats.
Plucking geese is not at all difficult, it is only important to decide what you need it for. If you do not need a pen in the future, then many simple and affordable methods are at your service. If you still plan to use it, then you have to “tinker” a bit. Despite the laboriousness of mechanical methods, the result is worth it.
