I would like to share with you the secret of growing a wonderful plant called stevia. In our country, it is undeservedly deprived of attention, although it is a storehouse of vitamins. But the most important property is that it is many times sweeter than sugar, and, just imagine, not a single side effect.
Translated from the Mayan language means “honey”. One very beautiful legend is connected with it. Once upon a time, among the Mayan tribes, there lived a girl named Stevia. She loved her native land so much that she would not regret her life for her. Then the generous gods, seeing her devotion and love, gave her this magical herb.
Stevia came to Europe from South America. The conquistadors-conquerors drew attention to the unusual green leaves that the Indians added to their mate tea. Having tasted it, the Spaniards realized that to sweeten even a large cup, just a couple of leaves are enough.
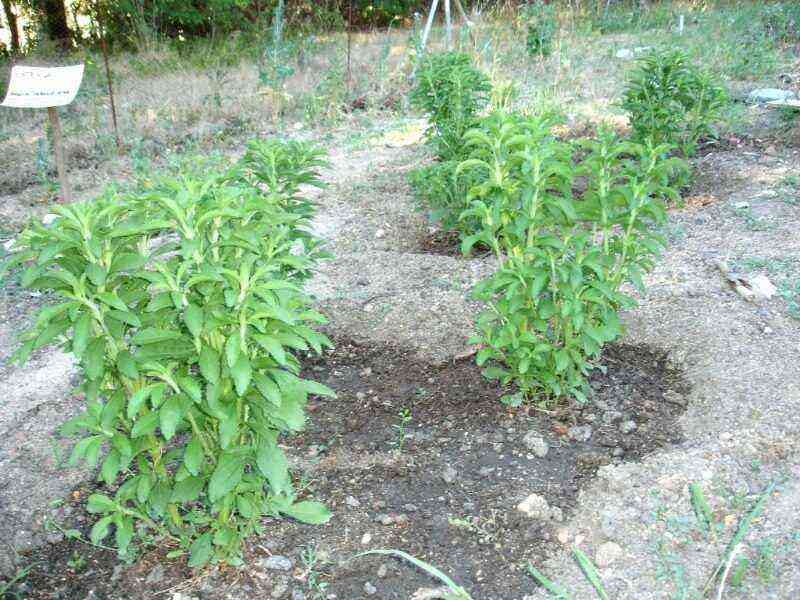
Herbaceous perennial plant that grows up to a meter. The flowers are white and small, with a developed root system. The planting period lasts about 2-2,5 months, and you can harvest in four months.
Feels great at home. Through simple manipulations, I managed to get a rich harvest and make myself stocks of this super-useful plant. It can be grown on your windowsill, and for the summer, for greater productivity, transferred to open ground.
Stevia is a southerner, which means it is thermophilic and will not grow in a cold environment. And if it receives more heat and light, it becomes sweeter. The ideal conditions for her are where there is no wind or drafts, the ambient temperature ranges from 20-30 degrees. In nature, it reproduces both by seeds and cuttings, and even by dividing the bush. In winter, it will die in the open field, so it is used either as an annual plant, or transferred to pots home. Thus, it will be possible to get fresh sweet leaves all year round.
So, how did I manage to grow stevia from seeds at home and get a rich harvest at the same time. I share with you all the tricks.
It is best to cook seedlings in late March – early April. The seeds are small so you need to be careful with them. We moisturize the prepared, well-loosened soil (you can use any, most importantly without peat and lime). We put each seed at a distance of 5-7 cm from each other. There is no need to deepen them. From my own experience, I will say that the sprouts will not sprout. Just put them on the ground and that’s it.
After that, we irrigate the soil again, preferably from a spray bottle. We do this carefully so as not to wash off the seeds. And then we make a greenhouse for them – we cover it with what we have: glass jars, lids for special seedling boxes and everything that you usually use can be used. Sowing is over.
We put in a warm place, not lower than 25 ° С and away from direct sunlight.
After seven days, you can already start enjoying the first shoots. We are waiting for the moment when the main number of sprouts will rise, remove the films, cans, lids and transfer the seedlings to the brightest and warmest place. Let me remind you that you should definitely make sure that our stevia does not suffer from drafts, they are detrimental to the sprouts! We also monitor the temperature, which should not be lower than 15 ° C.
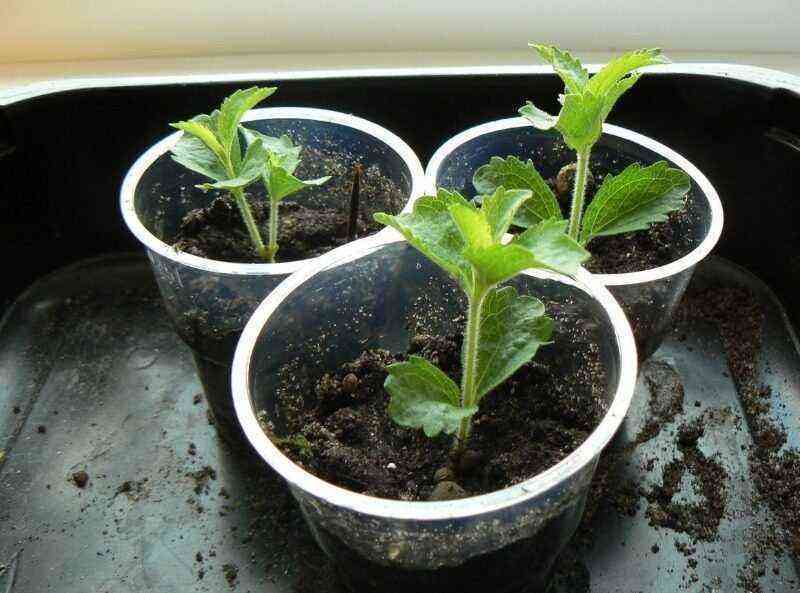
When the seedlings grow up to five centimeters, and they have two or more leaves, they can be safely planted in separate cups or pots. Just do not forget to drain there and sprinkle it with a little sand before laying the soil. The root system is not very deep, but branched, so low pots are good for it, and there must be a hole at the bottom. Seedlings should be transplanted carefully, with a small lump of earth, and then the seedlings should be regularly moistened and fed in the form of a complex mineral fertilizer at least once a week.
After 2-2,5 months, after the sprouts noticeably grow and get stronger, they can be transplanted into open ground for fresh air when the threat of frost has passed. I put it under a temporary shelter, in my case it was empty five-liter water bottles. I waited a week for the shoots to take root, and removed the shelter. Also, the seedlings can be transferred to the greenhouse directly in the pots.
Cutting stevia is easy. For this, it is better to choose young, strong shoots. We break off the process at the base. We plant it in the same way as I described above – we deepen it to the first leaves in moistened soil, compact it a little and water it with water. Again, don’t forget to keep an eye on watering, humidity, and lighting. We look and check that the stevia is not seized by aphids or whiteflies. If the latter appears, it means that it is damp and humid around.
You can tear off any leaves in tea, one mug is enough for one. It is best to do this in the morning, as this is the time when they have the highest level of sweetness. You can add it all year round. Brew like regular tea. It turns out a delicious, sweet and most importantly healthy drink.
If you, like me, will dry the leaves for the winter, then it is better to collect them in the middle of summer, by cutting off the plant in half. I dry it in a vegetable stand at a temperature of 65 degrees – if you dry it, then the stevia will taste bitter. It can also be hung in bunches for natural drying. It does not require any special storage conditions, the main thing is that it is dry.
")


")
